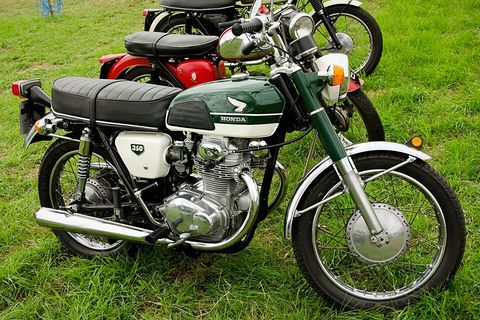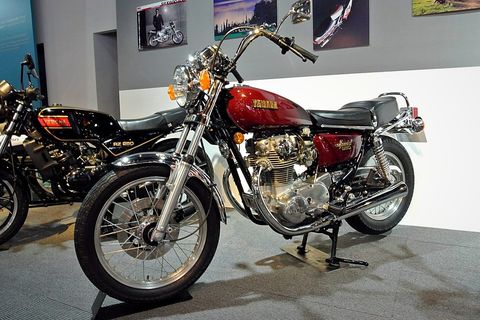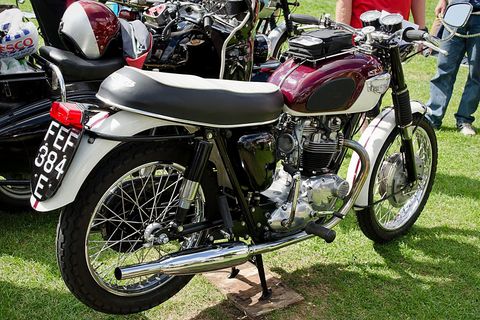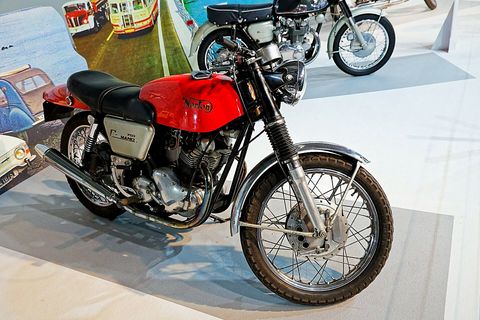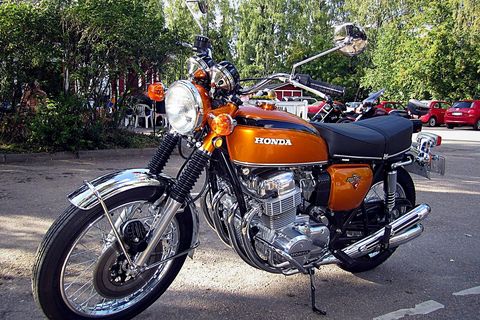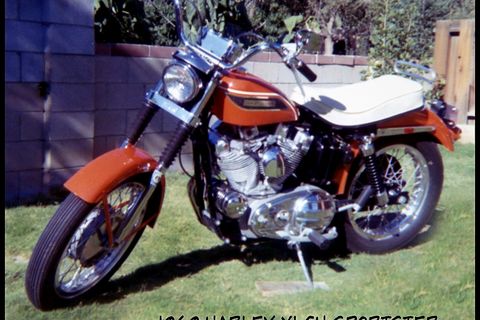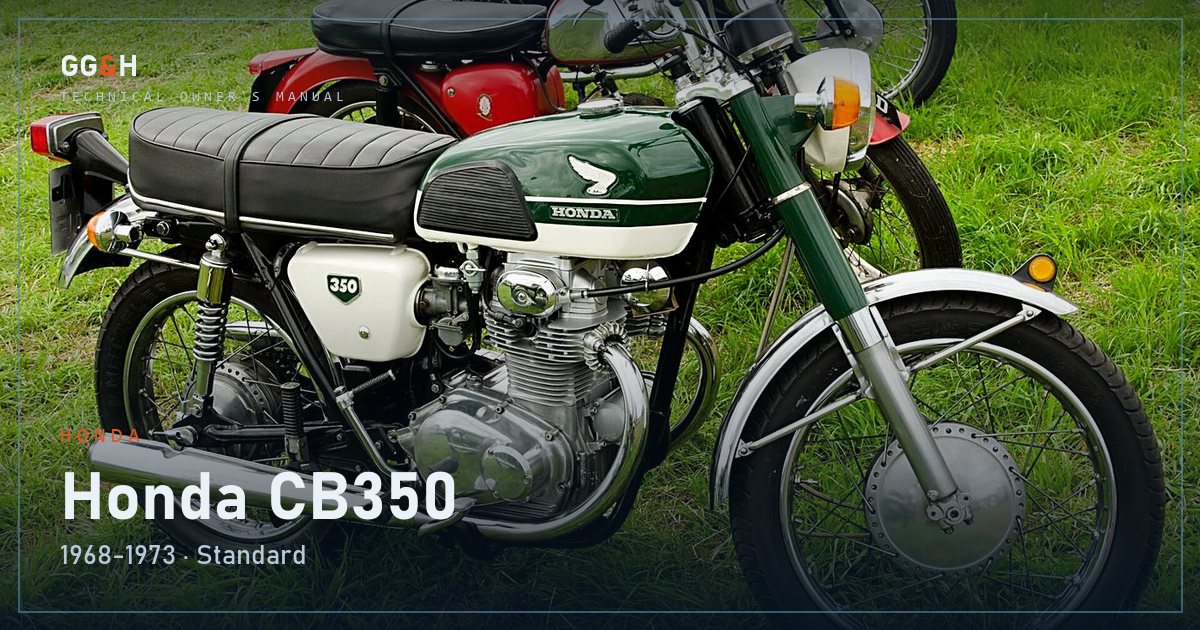
The temptation with a bike that has sat for fifteen years is to put a battery on it, splash in some fuel, and see if it fires. Resist it. Everything that makes that first start satisfying is also what turns a repairable engine into a rebuild: dry cylinder walls, a seized ring, a rusted tank feeding grit into the carburetors, and brakes that will not stop you when it does run.
Treat it as an archaeology project first and a motorcycle second.
Assess before you turn anything
Start with the paperwork and the numbers. Match the frame number to the title and check the engine number, because a long-dormant bike is exactly the kind that has been apart and reassembled. Without a title, find out what your state requires before you spend a penny.
Then look for the three things that end a project: a bent or repaired frame, a seized engine, and a rotted tank on a bike where tanks are unobtainable. Sight down the frame and forks. Check the steering head. Look inside the tank with a flashlight and a phone camera.
Now test the engine gently. Put the bike in gear with the plugs out and rock it back and forth by the rear wheel, which turns the engine over without asking the starter to break anything free. If it moves, good. If it is locked solid, stop and do not force it, because at that point you are deciding whether to disassemble, not whether to ride.
With the plugs out, squirt a little oil into each cylinder and leave it overnight before turning the engine over further. Dry cylinder walls and a long-dead oil film are the reason a first start can score a bore in seconds.
The fuel system, all of it
Assume everything between the tank cap and the intake valve is contaminated. On a bike that has sat, old fuel turns to varnish and then to a shellac that no amount of fresh gas dissolves.
Drain and inspect the tank. Surface rust can be cleaned and sealed, and pinholes or heavy scale mean a replacement or a professional job. A dirty tank feeding a freshly cleaned carburetor is money thrown away, so do the tank first.
Then pull the carburetors off and take them apart properly. Bowls, jets, needle and seat, float level, every passage. Replace the rubber, which will be hard. Replace the fuel lines and the filter, and rebuild or replace the petcock, because a petcock that leaks internally will fill a cylinder with fuel while the bike sits and hydrolock it on the next start.
On a fuel-injected bike, expect a dead pump and a fouled filter and check the injectors before you crank.
Brakes, tires and everything that keeps you alive
Do this before the first ride, not after.
Rebuild or at minimum flush the hydraulic brakes. Old brake fluid is full of water, and calipers that have sat corrode and stick. Drum brakes need the shoes checked for a hard, glazed surface and the linings checked for the bonding that lets go with age.
The tires are dead regardless of appearance. Rubber that old is hard, cracked and has no grip, and it is the cheapest of all the things on this list relative to what it prevents.
Check the wheel bearings, the steering head bearings, the swingarm bushings, the chain and sprockets, and every control cable. Cables that have sat dry inside their housings will bind, and a throttle that sticks open on your first ride is the worst possible introduction.
Oil, electrics and the first start
Change every lubricant before running: engine oil and filter, gearbox and primary where separate, and the final drive on a shaft bike. Whatever is in there is contaminated with condensation.
Fit a new battery and go through the wiring with your eyes, looking for perished insulation, green corrosion in the connectors and previous owners' repairs. Clean the grounds, since most mystery electrical faults on an old bike are a bad ground. Confirm the ignition system produces a spark before you keep cranking.
Then start it, with a fire extinguisher within reach, and let it idle only briefly the first time while you watch for fuel leaks and listen. Check oil pressure or oil return where the design lets you see it. Stop, look underneath, and look again.
The first ride
Make it short, local and slow. Test the brakes at walking pace before you leave the driveway. Ride a loop that never takes you far from home, and expect to find three things you missed, which is normal.
Then get onto a real maintenance rhythm rather than back into storage. The maintenance interval planner helps set it, and the inspection checklist is worth a second pass once everything is running.
Every model has its own revival traps, from specific carburetor parts that are no longer made to a known weak point in the ignition. Garage, Galley & Hangar writes a model-specific owner's reference manual for every motorcycle in the catalog, built around exactly those details. Browse the motorcycles catalog.